baked

Fudgy Brownies

Fudgy Brownies

JUMP TO RECIPE | PRINT RECIPE

When I first tested Mamaw’s recipe, I had a total baking fail and ended up with brownie soup. I’m not sure what I did to achieve such a disastrous baking feat, but I suspect my Aunt Rhunda may have some clues—more about that story later. These fudgy brownies are reminiscent of their 19th century Chicago cousins but with the extra boost of butter.

Remember, brownies are a celebration of chocolate, making quality of the chocolate important. So splurge a little and get the best chocolate you can afford!
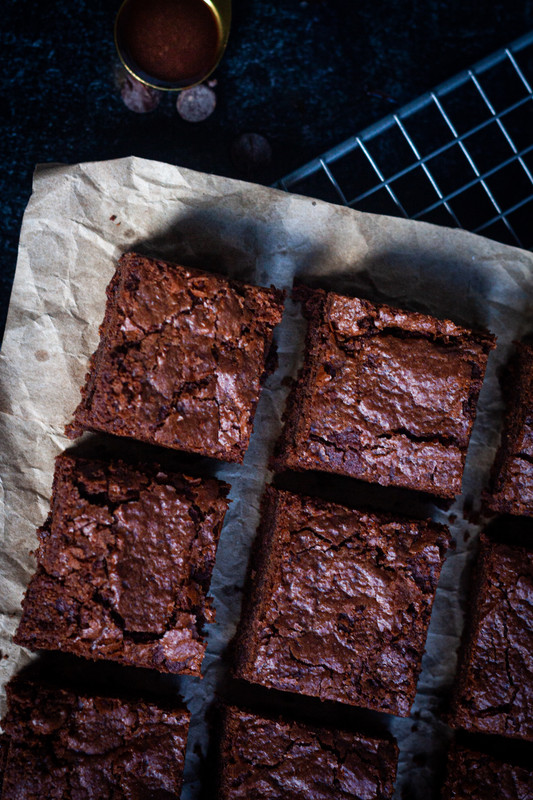
Cakes - unedited-4.jpg

Yield: 24 brownies
Author: Sweet Tea & Fried Pies
Fudgy Brownies

Fudgy Brownies

When I first tested Mamaw’s recipe, I had a total baking fail and ended up with brownie soup. I’m not sure what I did to achieve such a disastrous baking feat, but I suspect my Aunt Rhunda may have some clues. These fudgy brownies are reminiscent of their 19th century Chicago cousins but with the extra boost of butter. Brownies are a celebration of chocolate, making quality of the chocolate important. So splurge a little and get the best chocolate you can afford.

Ingredients

  • 1 cup unsalted butter
  • 10 ounces semisweet chocolate chips
  • 1 cup firmly packed brown sugar
  • 1 cup granulated sugar
  • 2 large eggs, room temperature
  • 1 tablespoon vanilla extract
  • 2 cups self-rising flour
  • 1 cup walnuts (optional)

Instructions

  1. Preheat the oven to 400°F and line a 9 x 13-inch baking dish with parchment paper leaving about one inch hanging over the sides.
  2. In a large saucepan, melt the butter and the chocolate chips over low heat until smooth. Whisk in the sugars until fully incorporated. Remove from heat and let the chocolate mixture cool to room temperature (about 5 minutes).
  3. Add the eggs and the vanilla extract and whisk until smooth and homogeneous. Add the flour and mix with a rubber spatula until combined. Fold in the nuts, if using.
  4. Scrape batter into the prepared pan and spread into an even layer. Bake for 30 to 35 minutes or until a toothpick inserted halfway between edge and center comes out with just a few moist crumbs attached. Transfer the pan to a wire rack and cool for 1½ hours.
  5. Using the parchment paper overhang, lift the brownies from pan. Place the brownies on the wire rack and cool completely, an additional hour. Cut into 2-inch squares and serve. Brownies can be stored in an airtight container at room temperature for up to 4 days.

Calories

258.45

Fat (grams)

14.55

Sat. Fat (grams)

7.28

Carbs (grams)

31.77

Fiber (grams)

1.27

Net carbs

30.50

Sugar (grams)

22.36

Protein (grams)

2.80

Sodium (milligrams)

134.88

Cholesterol (grams)

35.84
Did you make this recipe?
Tag @sweetteafriedpies on instagram and hashtag it #sweetteafriedpies

Like this recipe? Follow me on Instagram for lots more recipes just like this one! And don’t forget to pin this recipe to Pinterest for later by clicking on the image above.

Cherry Hand Pies

Cherry Hand Pies

JUMP TO RECIPE | PRINT RECIPE

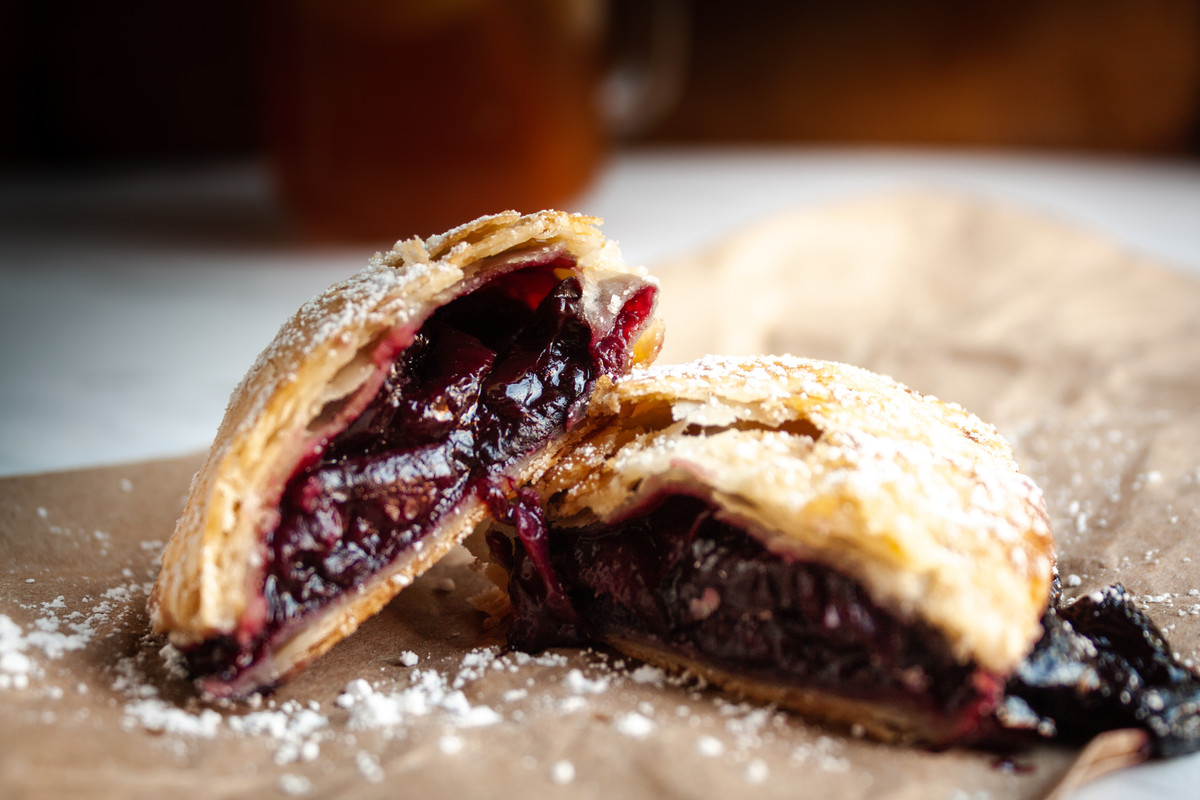
Sweet cherries, flaky crust, and powdered sugar form this perfect handmade hand pie. Perfect for summertime picnics and barbecues.

Cherry Hand Piev1- Cookbook.jpg
Cherry Hand Piev2- Cookbook.jpg

USEFUL TOOLS TO MAKE HAND PIES

Like this recipe? Follow me on Instagram for lots more recipes just like this one! And don’t forget to pin this recipe to Pinterest for later by clicking on the image below.


Yield: 8
Author: Sweet Tea & Fried Pies
Print
Cherry Hand Pie

Cherry Hand Pie

Sweet cherries, flaky crust, and powdered sugar form this perfect handmade hand pie. Perfect for summertime picnics and barbecues.
Prep time: 20 MCook time: 30 MTotal time: 50 M

Ingredients:

CRUST
  • 2 cups all-purpose Flour 
  • 1 teaspoon salt
  • 3⁄4 cup shortening
  • 1⁄3 cup tap water
  • 1 tablespoon whole milk
  • 1 large egg, beaten
FILLING
  • 1 pound frozen cherries
  • 1⁄2 teaspoon almond extract
  • 1⁄4 cup granulated sugar
  • 1 tablespoon cornstarch
  • 1 tablespoon water powdered sugar

Instructions:

  1. Make the crust by mixing flour and salt with a wire pastry blender. Cut in half of the shortening and blend until it looks like cornmeal. Cut in remainder of shortening until it looks like peas. Add water one tablespoon at a time, tossing flour and water until evenly dampened. Shape into a firm ball and let rest 10 minutes.
  2. In a medium saucepan, heat cherries, almond exract, and sugar over medium- high heat. After the cherries loose considerable juice, which may take a few minutes, remove from heat.
  3. In a small bowl, mix water and cornstarch together. Add to cherry mixture to thicken.
  4. Preheat oven to 350 degrees. Line baking sheet with parchment paper.
  5. Roll dough between two pieces of parchment paper to 1⁄8 to 1⁄4  inches thickness.
  6. Cut out 4-, 5- or 6-inch rounds, depending on how large you prefer. Add about 2 tablespoons of filling to each hand pie and fold the dough over in half to enclose the filling. Use a fork to press and seal the edges closed. Transfer pies onto prepared baking sheet.
  7. Whisk egg with milk in a small bowl. Brush top of each hand pie with egg wash. Cut 3 small vent holes in the top of each pie.
  8. Bake in the preheated oven until pies are golden brown and filling is bubbling, 25 to 30 minutes. Let cool for at least 15 minutes. Dust with powdered sugar before serving.

Calories

410.02

Fat (grams)

20.43

Sat. Fat (grams)

8.08

Carbs (grams)

52.39

Fiber (grams)

1.76

Net carbs

50.63

Sugar (grams)

26.26

Protein (grams)

4.60

Sodium (milligrams)

276.19

Cholesterol (grams)

34.20
Did you make this recipe?
Tag @sweetteafriedpies on instagram and hashtag it #sweetteafriedpies
Created using The Recipes Generator

No Fail Pie Crust

No Fail Pie Crust

JUMP TO RECIPE | PRINT RECIPE

Pie making conjures memories of my Mamaw gently pinching the fat into the flour with her hands and rolling out a disk of dough with her flour-dusted wooden rolling pin. Pies and fried pies were always a special treat for my family—and it all starts with a perfectly flaky, tender crust. This is my Mama’s tried and true pie crust recipe. No fuss, no fail, I promise, no freak-outs included.

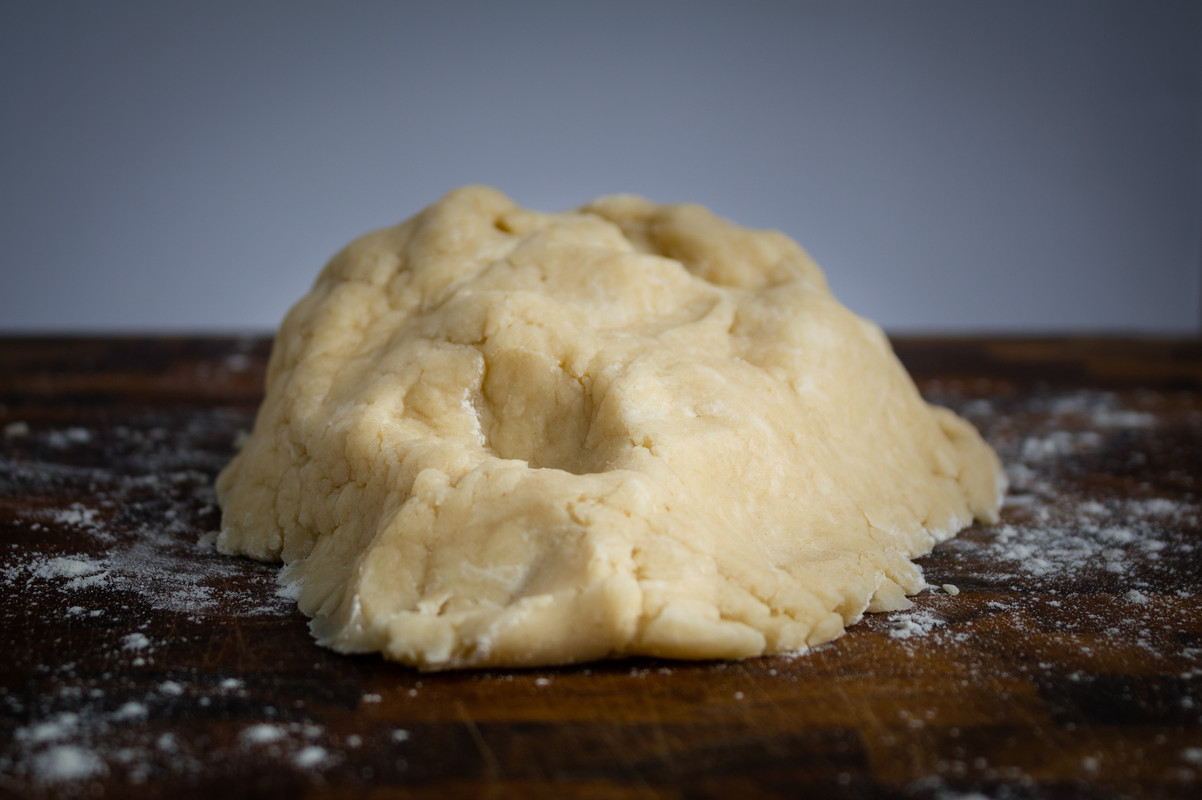
Though I’ve modernized her recipe a bit by using a food processor instead of a pastry blender, the crust still turns out exactly like how my Mamaw made it.

IMG_7201.jpg

tips for making no fail pie crust

A light, crisp finish is your goal for your pie crust. The full recipe is below, but here are some tips to ensure your No Fail Pie Crust turns out perfectly each time. 

  • The shortening’s job in this crust is to prevent gluten from forming, which makes gummy or chewy end products like fluffy breads and soft cookies. We don’t want that here, and the shortening gets you to that flaky and crisp texture.  

  • A food processor does a very good job of cutting shortening into the flour, but be careful not to overwork the dough. As soon as the dough begins to form a clump, stop. If your crust ends up tough after baking, you’ll know you went too far. It’s okay. Just top it with a scoop of ice cream, and move on. You’ll get it right next time.

  • The 10-minute resting period is absolutely essential. It helps relax the gluten or else your pie crust will be victim to shrinkage or sagging.

  • Unbaked pie dough can be stored up to three days in the refrigerator and up to 6 months in the freezer. Bring the dough to room temperature before rolling out. I like to have fried pie dough at the ready, so I take the extra step of rolling and cutting my dough into 4 to 6 inch circles, lightly flouring them on both sides, and then wrapping in plastic wrap to freeze until my cravings strike.

IMG_7239.jpg

useful tools for making no fail pie crust

Like this recipe? Follow me on Instagram for lots more recipes just like this one! And don’t forget to pin this recipe to Pinterest for later by clicking on the image below.

No Fail Pie Crust Pinterest Graphic.png

Yield: One 9-inch crust
Author:
Print
No Fail Pie Crust

No Fail Pie Crust

A tried and true pie crust recipe. Modernized a bit with the help a food processor, but still tastes like how my mamaw made it.

Ingredients:

  • 2 cups all-purpose flour
  • 1 teaspoon salt
  • ¾ cup shortening
  • ⅓ cup ice water

Instructions:

  1. Pulse flour and salt in a food processor, two pulses.
  2. Pulse in half of the shortening until it looks like cornmeal. Then pulse in the remainder of the shortening until it looks like peas.
  3. Add water one tablespoon at a time, blending flour and water until evenly dampened and the dough clumps.
  4. Shape dough into a firm ball and let rest for 10 minutes before rolling.

Notes:

To store, form into a disk and wrap tightly in plastic. Dough can be refrigerate for up to three days. Let chilled dough soften slightly by sitting on the counter for about 10 minutes. Wrapped dough can be frozen for up to six months. If frozen, let dough thaw completely on the counter before rolling.

Calories

2293.75

Fat (grams)

156.20

Sat. Fat (grams)

62.35

Carbs (grams)

190.78

Fiber (grams)

6.75

Net carbs

184.03

Sugar (grams)

0.68

Protein (grams)

25.83

Sodium (milligrams)

2123.01

Cholesterol (grams)

86.10
Did you make this recipe?
Tag @sweetteafriedpies on instagram and hashtag it #sweetteafriedpies
Created using The Recipes Generator